Chicken is a very popular meat, and is usually bought in already cut up pieces here in America. What most people don't realize is that breaking down a whole, raw chicken is not as difficult as it seems and could save them a lot of money. In addition, almost every piece of the chicken can be used in some way. Here are the basic steps to how to break down a chicken:
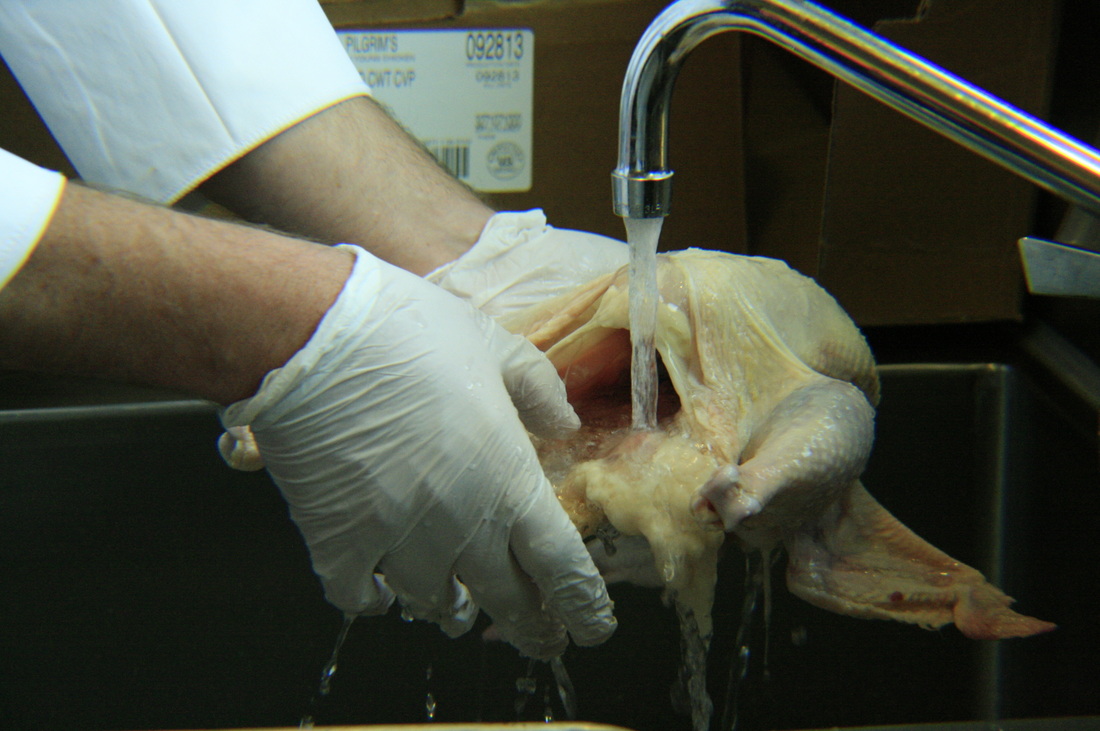
1. Rinse the bird in cool water and scrape out the kidneys. All of the other innards of the chicken will have already been removed for you.
1. Rinse the bird in cool water and scrape out the kidneys. All of the other innards of the chicken will have already been removed for you.
2. Remove the 'pope's nose'. This is essentially the tail of the chicken, and while most pieces that are removed from the bird can be used for the creation of chicken stock, this piece houses a gland that should not be used. This piece can just be very simply, cut off.
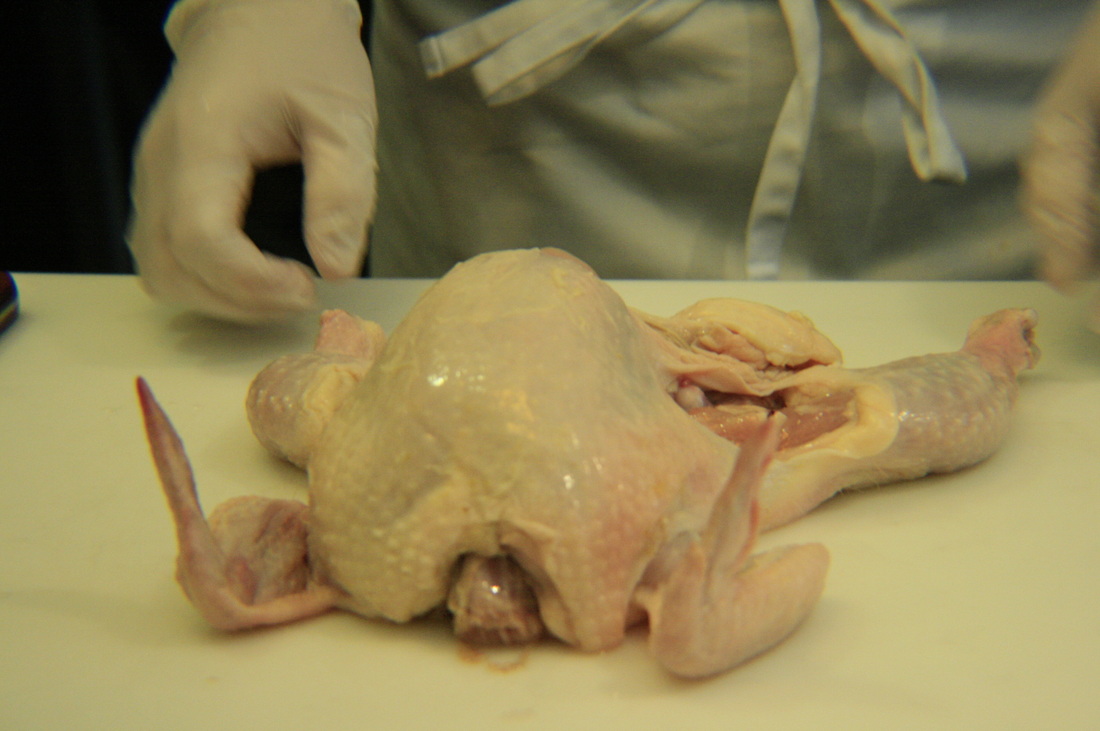
3. Next, lay the bird breast side up and make incisions through the thigh skin. Pull the femur bones so the bird lays flat. This will make it easier to work with and reduce the likelihood of cutting yourself.
3. Next, lay the bird breast side up and make incisions through the thigh skin. Pull the femur bones so the bird lays flat. This will make it easier to work with and reduce the likelihood of cutting yourself.
4. Remove the wingtips, cutting through the joint to help. Then, remove the wings, being sure to leave the drumettes attached. These will stay on the breast meat. Be sure to save the pieces that are removed to be used in a stock.
5. Turn the bird around and make two small incisions to remove the wishbone from the front.
6. Cut along the keel bone (spine) to remove the breast meat. Begin on one side and cut down along the bone until you reach the ribcage. Once there, cut through the joint to the center of the chicken and remove the breast meat. Repeat on other side.
7. Next, cut the skin right in front of the thigh muscle and use thumb to scoop out the oyster. This small muscle is considered a delicacy.
8. Finally. trim away excess fat and cut the drumstick side of the thigh along the distinctive fat line.
There you have it! Those are the basic steps to breaking down a raw chicken. All the extra pieces and bones can be thrown into a stock pot for later use. The next step is to cook the chicken.
We cooked the chicken breasts in groups by either grilling or baking. When baking chicken or other meats, the piece is often pan-seared before being finished in the oven. The purpose of a sear is to develop color and flavor on the meat, although it is not effective in cooking the meat in it's entirety. In our case, we chose to grill out meat. First, the meat should be seasoned properly. We used the basics, salt pepper and oil. Then, we placed the breast onto the grill. After a few minutes, we simply turned the chicken breast 90 degrees, to establish those beautiful grill marks that you always see in pictures. After that was finished, we flipped it.
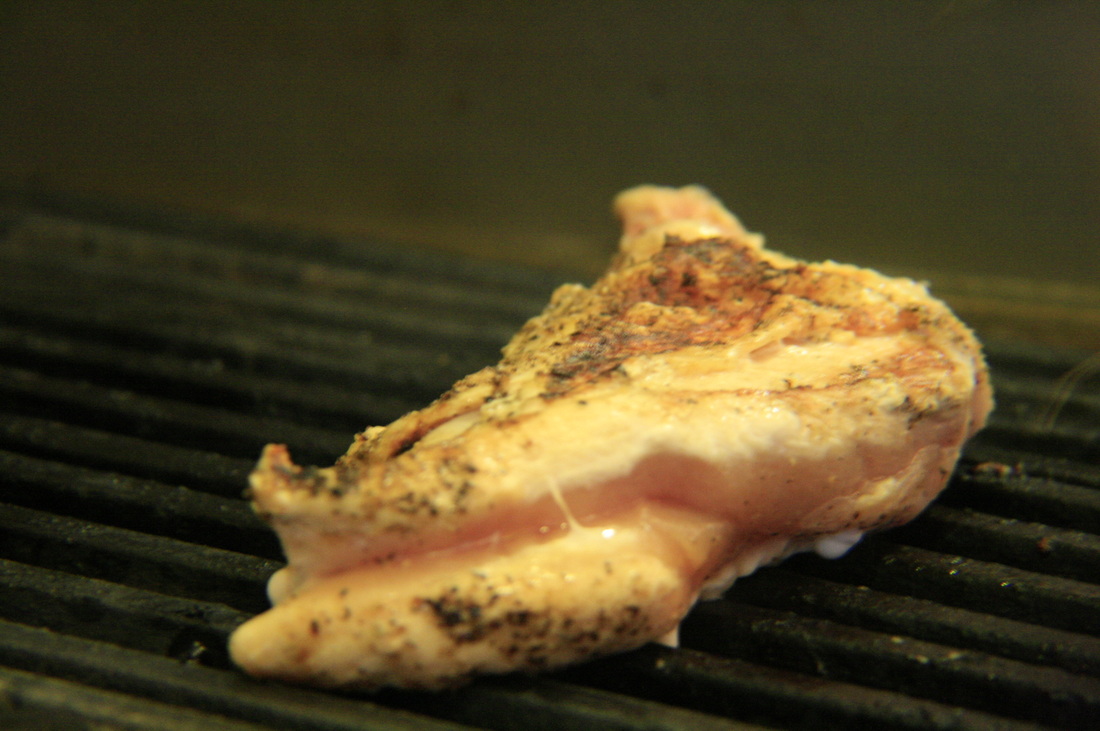
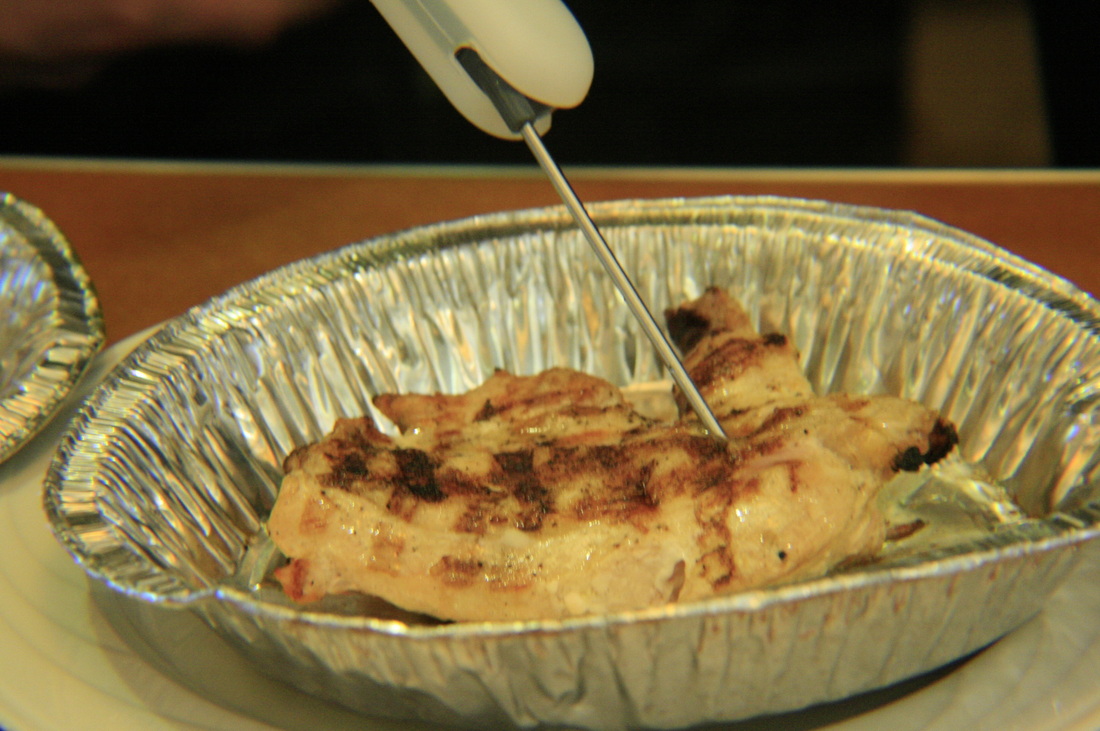
Our grill marks didn't turn out so great. Why? Because we didn't first make sure that our chicken's skin was correctly spread out and smoothed. A tip for next time I suppose. As you can see in the picture above, our chicken was still a tad raw in the middle. To avoid too much color but still achieve fully-cooked chicken breast, we then threw our chicken into the oven for just a few minutes. Using a meat thermometer to check doneness is a good way to be sure: the thermometer should reach a temperature of 165 degrees fahrenheit after no more than 15 seconds of placement. NOTE: Be sure to place the thermometer into the thickest part of the chicken breast:
 RSS Feed

