Earlier this semester, Chef hosted a local chapter of CMAA (Club Manager's Association of America) in our school of Hotel and Restaurant Management. There were about 15 to 20 people who came on a Sunday evening to see what we do in the kitchen here and eat food that we made for them. It was an out-of-class activity that myself and few other students came and helped with. For this event, I learned to make sushi.
California Roll, Cucumber Wasabi Roll, and Philly Roll. It seemed to me that learning this would be very difficult, I always imagined sushi as being an art that was complicated to learn. Of course, to an extent, it is. But these kinds of rolls were no where near as difficult as I thought they would be.
First, I made the rice. The rice was soaked in water and then drained, and then I put it into the rice cooker, with enough water to just barely cover it. This part is easy enough, you then just turn on the rice cooker and wait!
Next, I had to separate the rice, as it was all in big clumps coming out of the rice cooker. It is sticky rice after all. I coated the rice in a dressing that chef had previously made and set it aside. To prepare my station I had two cutting boards, the ingredients for the sushi filling laid out in pans, nori (seaweed), a knife, a bamboo mat, and a couple buckets of cool water. The cool water serves to keep the rice from sticking to gloves and the knife.
CALIFORNIA ROLL
Lay out the bamboo mat and place a sheet of nori on top of it. Grab about a handful of rice and tickle it out to the corners, so that it coats the nori. The tickling technique is important so as not to squish the grains of rice. It all stays together but it's still light and defined. Next grind sesame seeds onto the rice and flip the whole thing over, so the rice side is down on the bamboo mat.
The California Roll is what's known as a reverse roll, so the rice is on the outside as opposed to the seaweed. This is the only reverse roll I made.
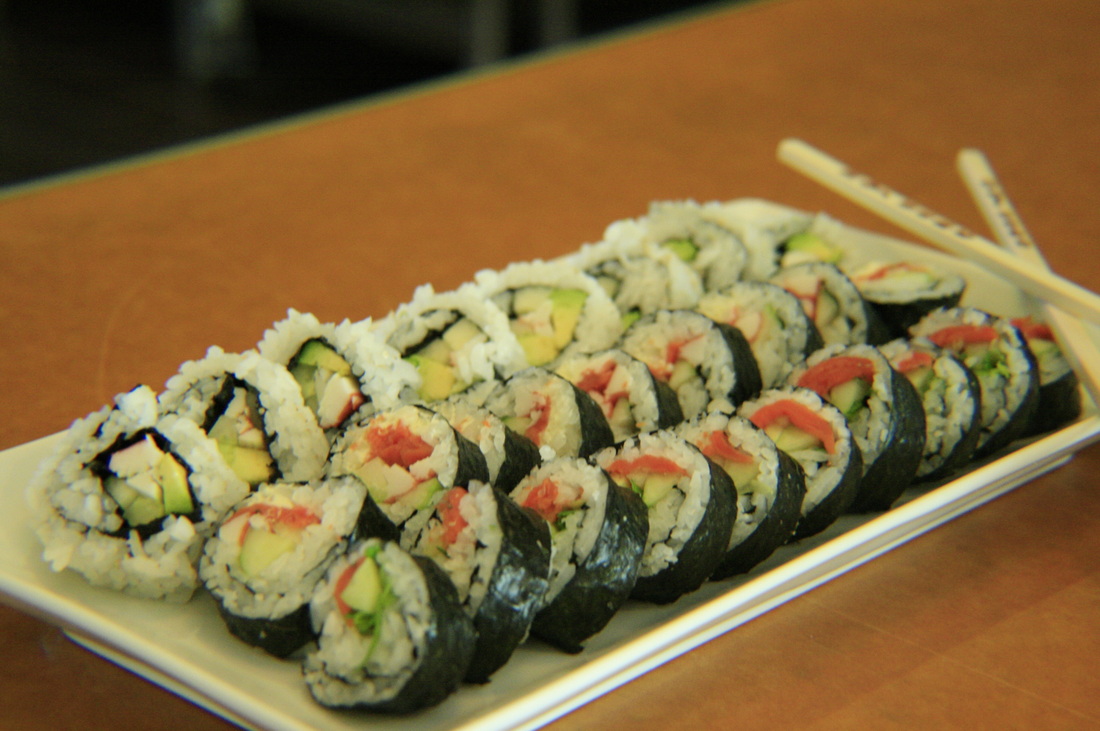
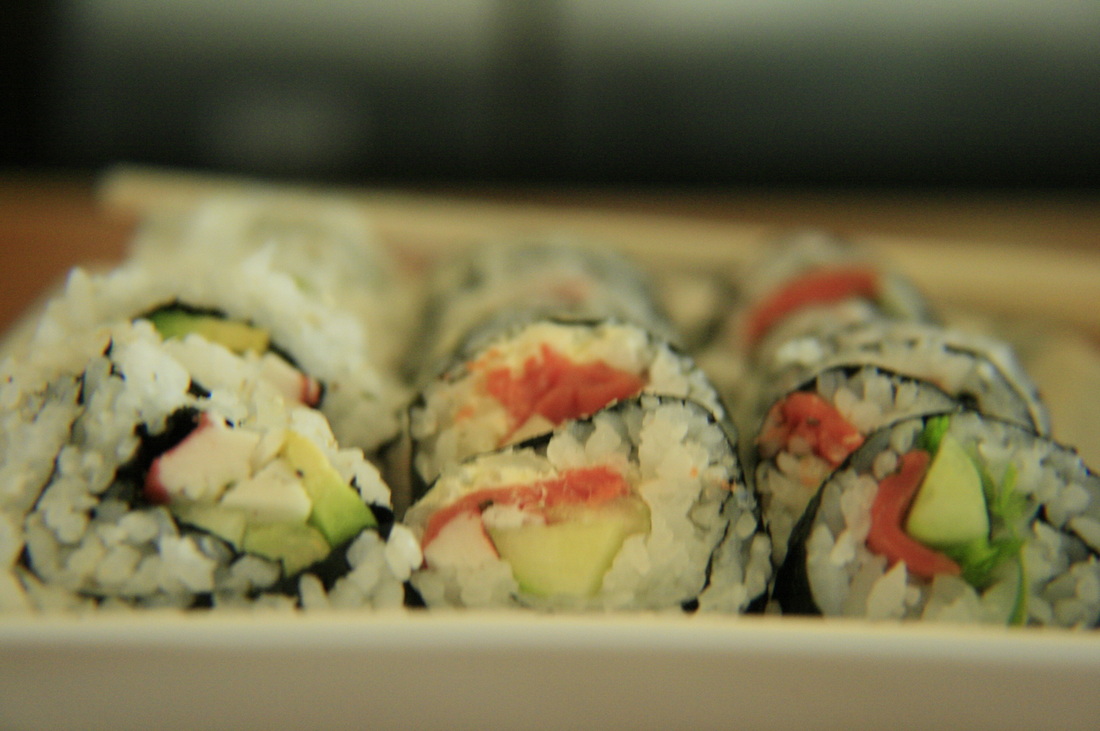
Next, you lay all the ingredients down the middle of the roll. For a California Roll these are imitation crab (in this case pollock), cucumber and avocado. Once this is all laid out you begin to roll. This is the most complicated part of the sushi roll, because it needs to be compact and tight but evenly rolled. The technique is to first, make the first turn of the bamboo mat and stop to tighten it with your fingers. It will be almost like you are tucking the bamboo into the middle of the sushi roll, but this is to make sure all of the filling is tight in the roll. Next, lift up the edge that is perpendicular to the roll and, steading the top of the roll with the fingers of your left hand, pull slowly with your right until the bamboo is completely rolled forward off of the sushi roll. The final step of the roll is to lay the bamboo over it and reshape it with your hand. It can me made square or round. The roll on the far left is my california roll.
First, I made the rice. The rice was soaked in water and then drained, and then I put it into the rice cooker, with enough water to just barely cover it. This part is easy enough, you then just turn on the rice cooker and wait!
Next, I had to separate the rice, as it was all in big clumps coming out of the rice cooker. It is sticky rice after all. I coated the rice in a dressing that chef had previously made and set it aside. To prepare my station I had two cutting boards, the ingredients for the sushi filling laid out in pans, nori (seaweed), a knife, a bamboo mat, and a couple buckets of cool water. The cool water serves to keep the rice from sticking to gloves and the knife.
CALIFORNIA ROLL
Lay out the bamboo mat and place a sheet of nori on top of it. Grab about a handful of rice and tickle it out to the corners, so that it coats the nori. The tickling technique is important so as not to squish the grains of rice. It all stays together but it's still light and defined. Next grind sesame seeds onto the rice and flip the whole thing over, so the rice side is down on the bamboo mat.
The California Roll is what's known as a reverse roll, so the rice is on the outside as opposed to the seaweed. This is the only reverse roll I made.
Next, you lay all the ingredients down the middle of the roll. For a California Roll these are imitation crab (in this case pollock), cucumber and avocado. Once this is all laid out you begin to roll. This is the most complicated part of the sushi roll, because it needs to be compact and tight but evenly rolled. The technique is to first, make the first turn of the bamboo mat and stop to tighten it with your fingers. It will be almost like you are tucking the bamboo into the middle of the sushi roll, but this is to make sure all of the filling is tight in the roll. Next, lift up the edge that is perpendicular to the roll and, steading the top of the roll with the fingers of your left hand, pull slowly with your right until the bamboo is completely rolled forward off of the sushi roll. The final step of the roll is to lay the bamboo over it and reshape it with your hand. It can me made square or round. The roll on the far left is my california roll.
PHILLY ROLL
The Philly Roll is made extremely similar to the California Roll, except that it is not a reverse roll. It is shown above, in the middle. This means that all the first steps are the same, except you do not grind sesame seeds onto the rice and then flip it. The ingredients get laid out directly onto the rice side, so the roll is still nori-side down on the bamboo mat. For a Philly Roll you need smoked salmon, cucumber, cream cheese, and scallions. The scallions are kept in an ice bath prior to use so that they are crisp when you put them into the roll. These things are laid out in strips and small pieces, and the technique of finishing the roll is the same as the California Roll.
CUCUMBER WASABI ROLL
This roll is one that I did not make much, it is not featured in any of my pictures because I am not too fond of wasabi. It is the same as the Philly Roll except for what you put in it: cucumber and wasabi. Pretty self explanatory.
It is important to note that after these rolls have been completed, they should be allowed to set for just a few minutes before being sliced. By keeping the knife in cold water before use, the roll can be more easily cut without being squished or ruined. Still, it takes practice. The first few rolls that I cut were not very pretty. Just keep in mind that you can continually dip the knife back into the cold water to make it easier to do this. Here is one final picture of a few rolls I made after class the next day, with the leftover ingredients:
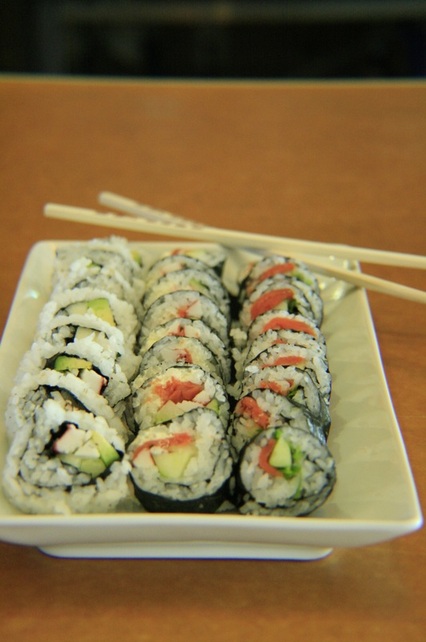
Once you know how to make the basic rolls, it is easy to switch up technique and put whatever you would like into the roll. The roll on the right is one that I made with cucumber, smoked salmon, and scallions. Just a different combination of ingredients, but you get the gist. Happy Sushi-Making!
 RSS Feed

