For the pasta event our group drew tortellini with pesto. But a lot of this post will be a more detailed description of pasta making as I had showed you in a previous post. A continuation, if you will. So as I had said before, pasta is very basic mainly flour and egg. For more details on making pasta dough, you can review that other post. This post is all about the pasta machine. You basically just need the pasta into a little disc and crank it through the machine until it is your desired thickness.
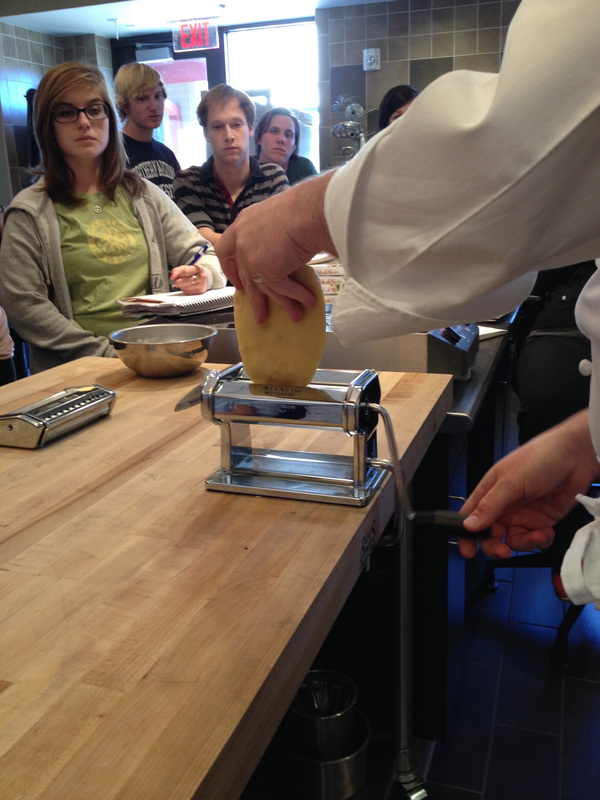
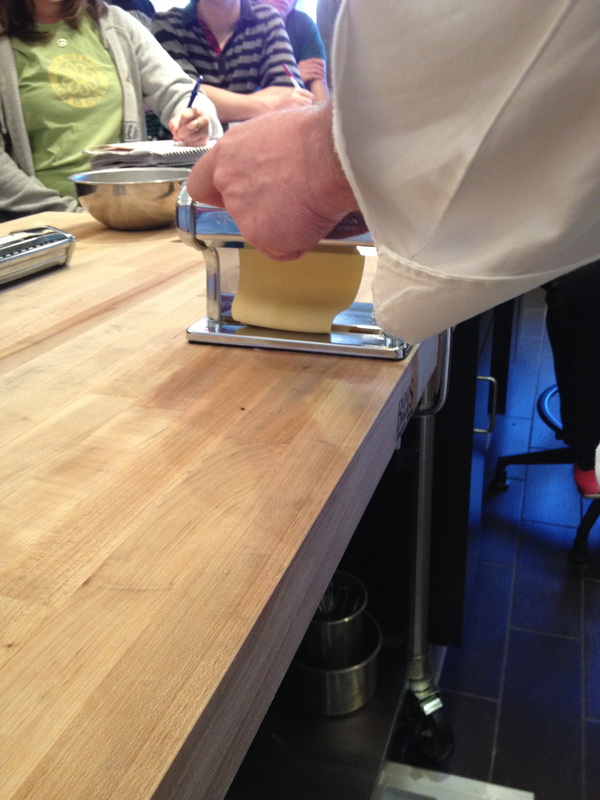
After a few passes through the pasta machine, the pasta is long and thin enough to loop. The technique is sort of like a fan belt after this. To better show you, I have a video:
So we did this on our own, and my group cut our pasta dough into small squares and filled them, folding them into tortellini shapes. Unfortunately, I do not have any pictures of this process to show you simply because my hands were covered in flour and dough, and I did not want my camera anywhere near any of that. So, I will do my best to explain the process to you without the help of pictures.
1. Place a pasta square in front of you with a corner facing you so there is a diamond shape, and put a dollop of filling in the middle (ours was simply ricotta, parmesan, and spinach).
2. Then, use your finger to wet the top two edges of the pasta square.
3. Fold the bottom corner to the top, so there is now a triangle and press down all the sides around the filling.
4. Place your finger, possibly a small one like your pinky, and fold the two horizontal corners to the middle, wrapping your finger.
5. Fold the top corner back, and your finished product should resemble a belly button (although mine didn't really so don't use this as a reference unless you are an ultra perfectionist).
Sorry if that is confusing. It is pretty easy once you've done like 20 or so. This pasta dough can be used to make almost any kind of pasta depending on how you cut it.
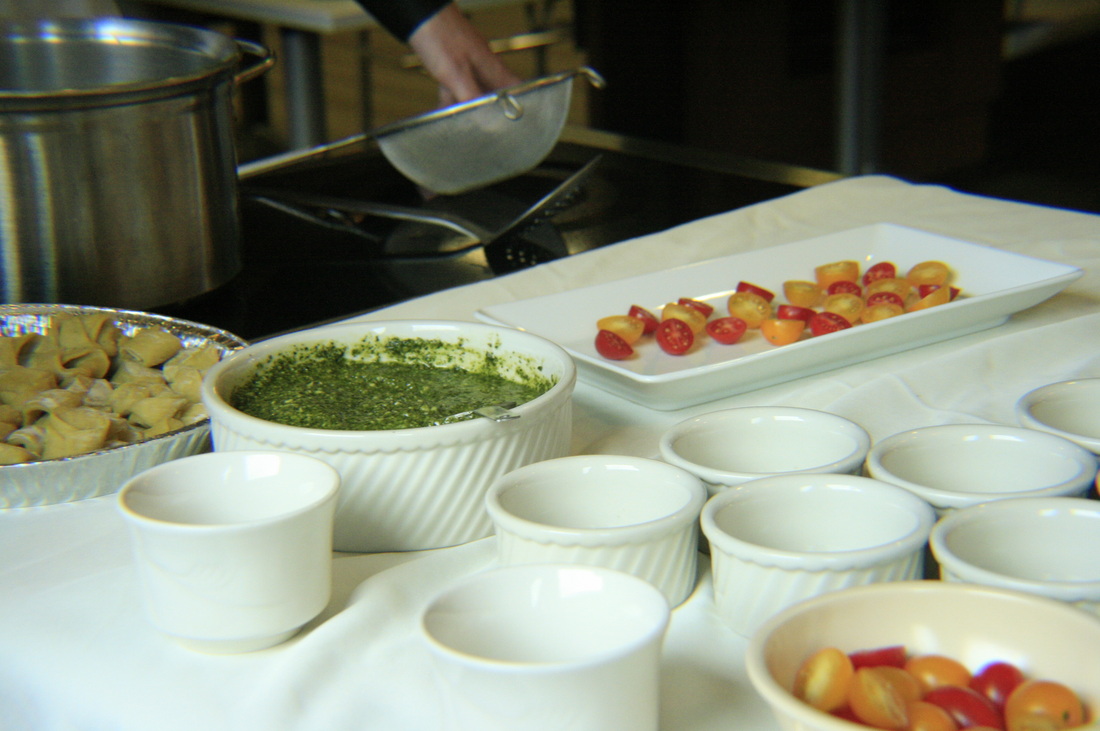
The most important part of fresh pasta to remember when cooking it is that it doesn't take anywhere near as long to cook as dried pasta, simply because you do not have to rehydrate it. Shown above on the far left are our tortellinis, followed by the pesto sauce we made and the garnish, cherry tomatoes. A trick to know when fresh pasta is done, just wait for it to float!
 RSS Feed

